Keeping your water storage clean is essential for good health, especially when using small water tanks at home. Over time, dirt, algae, and harmful bacteria can build up inside the tank, contaminating the water you use for drinking, cooking, and cleaning. While hiring professionals is always an option, DIY small water tank cleaning is a simple and effective way to maintain hygiene on your own. With the right steps and safety precautions, you can clean your tank thoroughly without needing expensive tools or services. In this blog, we’ll guide you through a step-by-step method to clean your small water tank safely and easily. Let’s get started with a process that ensures your water stays fresh, pure, and safe for everyday use.
Step-by-Step Process to Clean Small Water Tanks:
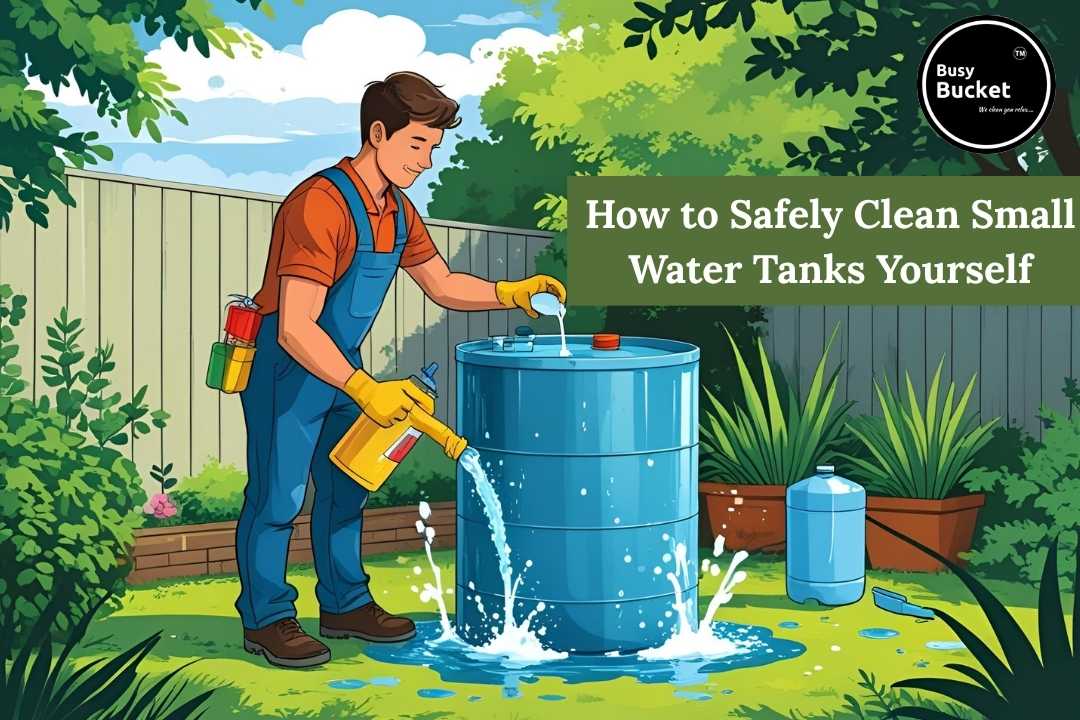
Yes, it is possible to safely clean small water tanks yourself with the right approach and precautions. DIY small water tank cleaning involves draining the tank, scrubbing the interior walls with a brush, and using a safe disinfectant like diluted bleach to kill bacteria and algae. After soaking, scrub again and rinse thoroughly with clean water to remove all residue.
Allow the tank to dry completely before refilling it. Always wear gloves and a mask for safety. Regular cleaning every 3 to 6 months ensures clean, safe water and helps prevent health issues caused by contaminated water.
What You’ll Need to Clean a Small Water Tank:
Before you begin DIY small water tank cleaning, it’s important to gather the right tools to ensure a safe and effective process. Having the right items will make the task easier and help you achieve a cleaner, safer water supply.
- Gloves and mask (for hygiene and protection)
- Scrub brush or sponge with a long handle
- Liquid bleach or tank-safe disinfectant
- Clean water for rinsing
- A bucket or a small container
- Flashlight (to check inside the tank)
- A hosepipe (optional for better rinsing)
- Old towels or rags for drying
With these items ready, you’re all set to clean your small water tank safely. Let’s move on to the step-by-step process.
Step-by-Step Guide to Cleaning Your Small Water Tank
Cleaning your small water tank regularly is essential to ensure a clean, safe, and germ-free water supply. Bacteria, algae, and dirt can build up over time, affecting the water quality and potentially causing health problems. The good news is that with the right method, DIY small water tank cleaning is simple and cost-effective. Follow this step-by-step guide to clean your tank safely at home.
- Step 1: Turn Off the Water Supply
Shut off the inlet valve or main water supply to prevent any water from entering during cleaning. - Step 2: Drain the Tank Completely
Empty all the water from the tank. Use a bucket or drain outlet to remove any leftover water. - Step 3: Scrub the Inside
Use a long-handled brush or sponge to scrub the tank’s interior walls, floor, and corners. Remove all visible dirt, algae, and sediment. - Step 4: Disinfect the Tank
Mix a disinfectant solution (1 tablespoon of liquid bleach per 4 litres of water) and pour it into the tank. Spread it across all surfaces and let it sit for 1-2 hours. - Step 5: Scrub Again and Rinse
Scrub once more to remove loosened grime, then rinse the tank thoroughly with clean water until the bleach smell is completely gone. - Step 6: Dry and Refill
Allow the tank to air dry or wipe with clean towels. Once dry, reconnect any pipes and refill the tank with fresh water.
By following these steps, DIY small water tank cleaning becomes a manageable and hygienic routine. Make sure to clean your tank every 3–6 months for the best water quality.
Safety Tips for DIY Small Water Tank Cleaning:
- Always wear gloves and a mask while cleaning to avoid exposure to bacteria or chemicals.
- Never mix different cleaning agents. Stick to one disinfectant.
- Avoid using strong acids or industrial cleaners in household tanks.
- Don’t forget to clean the tank lid and outer surface as well.
- Make a habit of cleaning your small water tank every 3-6 months.
Why DIY Small Water Tank Cleaning Matters:
Clean water is essential for every household, but over time, small water tanks can become breeding grounds for bacteria, algae, and dirt. That’s why DIY small water tank cleaning is not just a chore.
It’s a necessary step in protecting your family’s health and maintaining your home’s hygiene. Cleaning the tank yourself can be easy, affordable, and highly effective when done correctly. Here’s why DIY tank cleaning matters:
- Prevents waterborne diseases by removing harmful bacteria and germs
- Improves water taste and smell by eliminating algae and residue
- Extends the lifespan of your tank by reducing corrosion and buildup
- Saves money on professional cleaning services
- Gives peace of mind knowing your water is clean and safe
Don’t wait for water problems to arise. Make DIY small water tank cleaning a regular habit every few months to enjoy safe, clean water all year round.
Why Choose Professional Busy Bucket for Water Tank:
DIY small water tank cleaning is not just a chore. It’s a necessary step in protecting your family’s health and maintaining your home’s hygiene. Cleaning the tank yourself can be easy, affordable, and highly effective when done correctly. Here’s why DIY tank cleaning matters:
- Prevents waterborne diseases by removing harmful bacteria and germs
- Improves water taste and smell by eliminating algae and residue
- Extends the lifespan of your tank by reducing corrosion and buildup
- Saves money on professional cleaning services
- Gives peace of mind knowing your water is clean and safe
Don’t wait for water problems to arise. Make DIY small water tank cleaning a regular habit every few months to enjoy safe, clean water all year round.


