Installing a split air conditioner (AC) in a high-rise building can feel overwhelming, especially if you’re doing it for the first time. Tall buildings come with challenges like strong winds, limited outdoor space, and safety risks. But don’t worry! With careful planning and the right tools, you can install your AC safely and efficiently. This guide breaks down the process into simple steps, perfect for beginners or anyone looking to understand the basics. Let’s dive in and learn how to install a Split AC in a high-rise building.
Why Proper Installation Matters in High-Rise Buildings?
Installing an AC in a high-rise isn’t just about cooling your room—it’s about safety, efficiency, and avoiding long-term problems. Here’s why getting it right matters:
- Safety First: Working at heights requires extra precautions to prevent accidents.
- Wind Resistance: High floors face stronger winds, which can damage poorly secured outdoor units.
- Noise Control: A shaky installation can cause vibrations, disturbing neighbors below or next door.
- Energy Efficiency: Properly installed ACs cool faster and use less electricity, saving you money.
- Legal Compliance: Many apartments require approvals for outdoor unit placement to maintain building aesthetics and safety.
Read Also- Best AC Under 30000 with 5-Star Rating
Tools You’ll Need
Before starting, gather these tools and materials. Missing even one item can delay your project!
| Tool/Material | Purpose |
| Drill Machine | To create holes in walls for pipes and brackets. |
| Mounting Brackets | To securely hold indoor and outdoor units. |
| Copper Pipes & Insulation Tape | To connect units and prevent refrigerant leaks. |
| Electrical Wires | To link the AC to your power supply. |
| Vacuum Pump | To remove air and moisture from refrigerant pipes. |
| Safety Gear (Gloves, Goggles, Harness) | Protects you from falls, debris, and electrical hazards. |
| Spirit Level | Ensures the indoor unit is perfectly horizontal. |
| Stud Finder | Locates wall studs for secure bracket installation. |
| Wrench & Screwdriver | For tightening bolts and screws. |
Pre-Installation Checks
1. Choose the Right AC Capacity
- Before buying, calculate your room size (in square feet) to pick the correct AC tonnage. For example:
- 100–150 sq. ft.: 1 ton
- 150–250 sq. ft.: 1.5 tons
An undersized AC will overwork, while an oversized one wastes energy.
2. Select the Perfect Spot
Indoor Unit:
- Place it 7–8 feet above the floor for even airflow.
- Avoid direct sunlight or heat sources (like lamps or TVs).
- Ensure the wall is strong enough to hold the unit (concrete walls are ideal).
Outdoor Unit:
- Choose a shaded, well-ventilated area (balconies or reinforced ledges work best).
- Keep it 15–20 cm away from walls for airflow.
- Confirm the building allows outdoor installations—some require units to be hidden or placed in specific zones.
3. Check Electrical Requirements
- Split ACs need a stable 220–240V power supply.
- Install a dedicated circuit breaker to prevent overloading.
- Use a voltage stabilizer if your area has frequent power fluctuations.
4. Get Permissions
High-rise societies often have strict rules. Submit a request to your building manager or maintenance team before drilling any holes.
Read also- Difference Between 1 and 1.5 Ton AC: Which One is Right for You
Step-by-Step Installation Guide How to Install Split AC in High Rise Building /
Step 1: Install the Indoor Unit
1. Mark the Bracket Position:
- Use the mounting bracket as a template to mark drill points on the wall.
- Ensure the unit is level using a spirit level.
2. Drill Holes:
- Use a drill machine to create holes for screws.
- Insert wall plugs (anchors) for extra grip.
3. Fix the Bracket:
- Secure the bracket tightly with screws.
- Double-check stability by gently pulling it.
4. Attach the Indoor Unit:
- Hook the AC onto the bracket and lock it in place.
Pro Tip: Cover furniture and floors with a sheet to catch dust and debris.
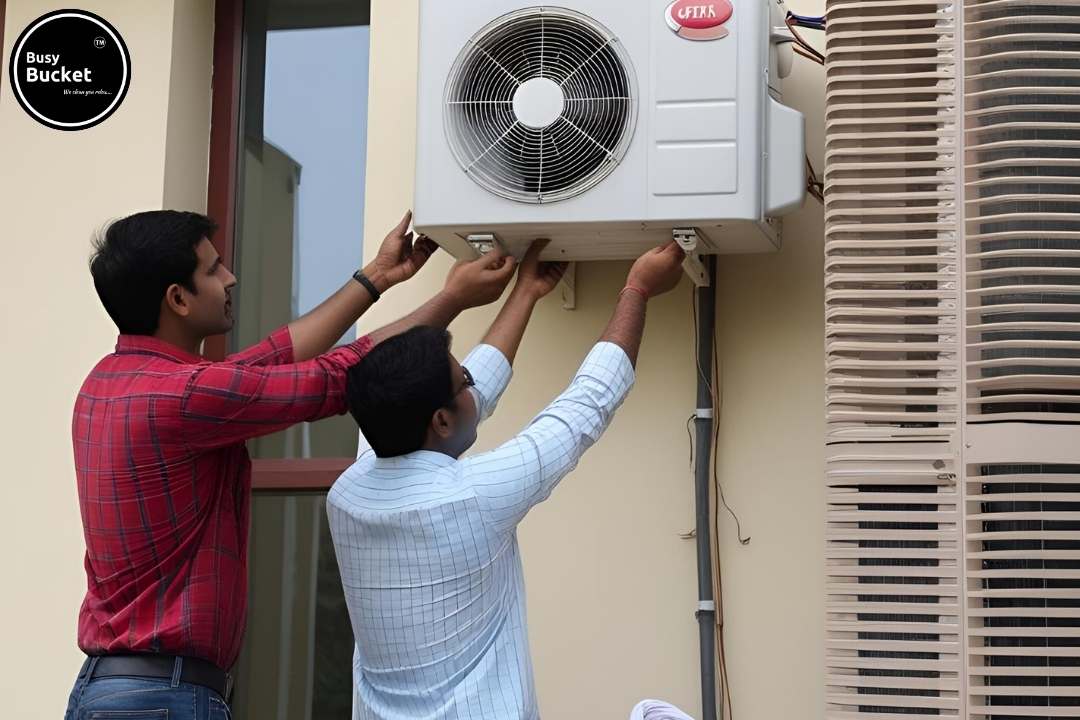
Step 2: Set Up the Outdoor Unit
Prepare the Space:
- Clean the area (balcony/wall ledge) to remove dirt or obstacles.
2. Install Anti-Vibration Pads:
- Place rubber or spring pads under the outdoor unit to reduce noise.
3. Secure the Unit:
- Use heavy-duty brackets or a balcony stand to fix the unit.
- Bolt it tightly to prevent movement during strong winds.
Step 3: Connect Copper Pipes and Wires
1. Link the Units:
- Connect the indoor and outdoor units with insulated copper pipes.
- Avoid bending pipes more than 90 degrees, as this can block refrigerant flow.
2. Insulate Joints:
- Wrap insulation tape around all pipe connections to prevent leaks.
3. Electrical Wiring:
- Follow the manufacturer’s manual to connect wires correctly.
- Use wire connectors (not tape) for secure joints.
Safety Note: Turn off the main power supply before handling wires.
Step 4: Test for Refrigerant Leaks
1. Vacuum the Pipes:
- Attach a vacuum pump to remove air and moisture from the pipes.
- Run the pump for 15–20 minutes until the gauge shows -5 psi.
2. Leak Check:
- Spray soapy water on pipe joints—if bubbles form, there’s a leak.
- Tighten connections or call a professional to fix it.
Step 5: Power Up and Test
1. Turn On the AC:
- Restore power and set the AC to cooling mode at 18°C (the lowest setting).
2. Wait for Cold Air:
- Let the AC run for 15 minutes. If cold air blows out, you’ve succeeded
3. Inspect Drainage:
- Check if the indoor unit’s drain pipe is releasing condensation properly.
6 Safety Tips for High-Rise AC Installation
- Work with a Partner: Never install alone—have someone hold the ladder or assist with tools.
- Use a Safety Harness: Mandatory if working above the 2nd floor. Secure it to a fixed anchor point.
- Avoid Bad Weather: Postpone installation on windy, rainy, or extremely hot days.
- Watch for Electrical Lines: Use a stud finder to avoid drilling into hidden wires.
- Hire a Pro for Wiring: Incorrect electrical work can cause fires or damage the AC.
- Double-Check Everything: Loose bolts or uninsulated pipes can lead to costly repairs later.
Post-Installation Maintenance Tips
- Clean Filters Monthly: Clogged filters reduce cooling and increase power bills.
- Check Drain Pipes: Clear blockages to prevent water leakage.
- Annual Servicing: A technician should inspect refrigerant levels, coils, and electrical parts.
- Monitor Noise: Unusual sounds from the outdoor unit may indicate loose parts or motor issues.
Conclusion
Installing a split AC in a high-rise building requires patience, safety measures, and attention to detail. While DIY guides are helpful, never hesitate to call a professional for complex tasks like electrical wiring or refrigerant handling. A well-installed AC will keep your home cool, cut energy costs, and last for years. Stay safe, follow local building rules, and enjoy the comfort of your new AC
